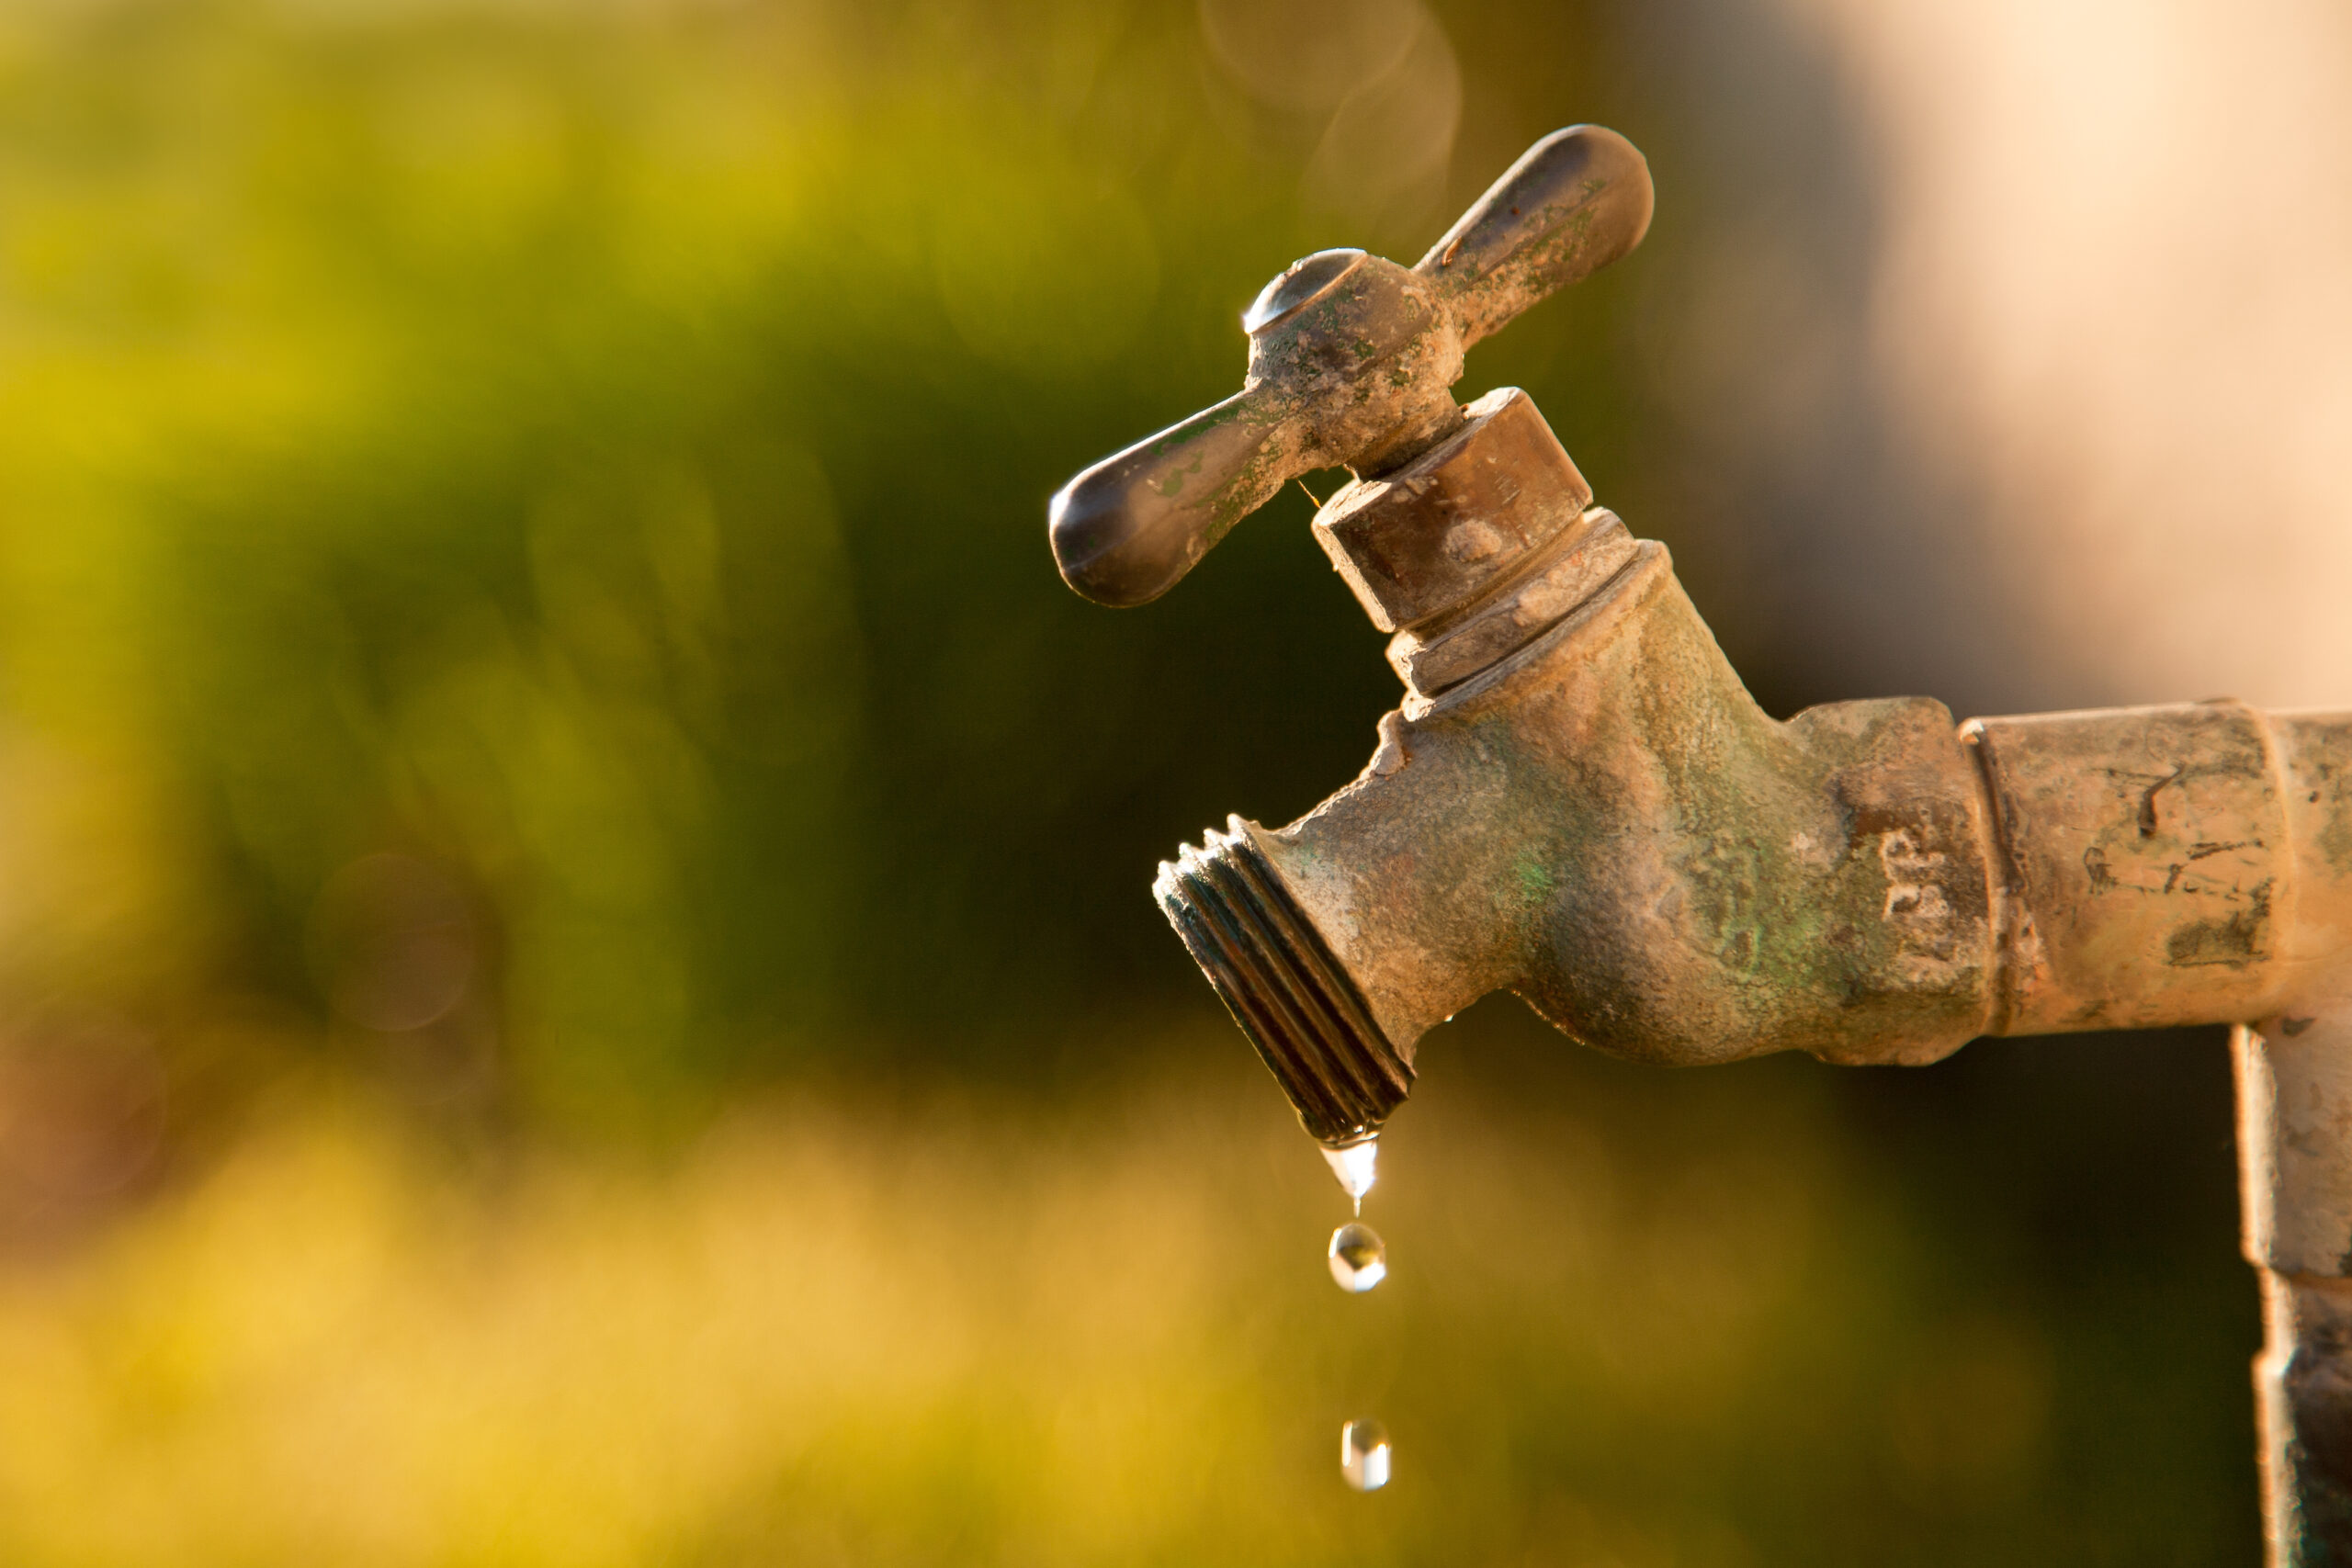
How to Fix a Leaky Outdoor Faucet

A leaking outdoor faucet not only wastes water and drives up your utility bills but can also cause damage to your home’s exterior and create a breeding ground for unwanted pests. As a responsible homeowner, addressing this issue promptly is crucial to avoid further complications. Fortunately, fixing a leaking outdoor faucet is a relatively simple task that can be accomplished with basic tools and a little know-how. In this guide, we’ll walk you through the step-by-step process of identifying the problem and resolving it effectively.
Step 1: Turn Off the Water Supply
Before you start any repair work, it’s essential to shut off the water supply to the outdoor faucet. Locate the shut-off valve, which is usually found inside your home near the faucet’s point of entry. Turn the valve clockwise until it is fully closed, cutting off the water flow to the outdoor faucet.
Step 2: Remove the Faucet Handle
With the water supply turned off, it’s time to disassemble the faucet. Use a screwdriver or an adjustable wrench to remove the handle from the faucet. Look for a set screw at the base of the handle or a screw cover that can be gently pried off. Once the screw is removed, the handle should come off easily.
Step 3: Inspect and Replace O-Rings or Washers
After removing the handle, you’ll see a packing nut or retaining nut. Loosen and remove this nut carefully using a wrench. Inside, you’ll find the faucet stem, which houses either an O-ring or a washer, depending on the faucet type. These components are common culprits for leaks. Inspect them closely for signs of wear, cracks, or tears. If you notice any damage, replace the O-ring or washer with a matching replacement from your local hardware store.
Step 4: Check the Faucet Seat
While you have the faucet disassembled, inspect the faucet seat located at the bottom of the stem assembly. The seat can become corroded or worn over time, leading to leaks. Use a seat wrench to remove the seat and replace it with a new one if necessary. Make sure to choose a seat that matches your faucet model.
Step 5: Apply Fresh Lubricant
Before reassembling the faucet, apply a thin layer of plumber’s grease or silicone-based lubricant to the O-rings, washers, and other rubber components. This will help create a watertight seal and prevent future leaks.
Step 6: Reassemble the Faucet
Carefully reinsert the faucet stem back into the faucet body, ensuring it sits snugly. Tighten the packing nut or retaining nut with your wrench to secure the stem in place. Reattach the faucet handle and tighten the set screw. Give the handle a test to ensure smooth operation.
Step 7: Turn on the Water Supply
With the faucet fully reassembled, turn the water supply back on by turning the shut-off valve counterclockwise. Slowly open the outdoor faucet to check for any leaks. If you followed the steps correctly and replaced any damaged components, the leak should be resolved.
Fixing a leaking outdoor faucet doesn’t require professional plumbing skills; it just takes a bit of time, effort, and attention to detail. Regularly inspecting and maintaining your outdoor faucets can help prevent leaks and ensure they function optimally throughout the year. By following this step-by-step guide, homeowners can take charge of their outdoor plumbing repairs and save money on water bills while conserving water.


